 Skip to main content Skip to footer

Cement board is a popular building material known for its durability, moisture resistance, and fireproof properties. It is often used in areas like bathrooms and kitchens, where water exposure is high. Cutting cement board requires the right tools and techniques to ensure clean, precise results. Here’s a step-by-step guide to cutting cement board using a circular saw.
Tools You’ll Need:
- Cement board
- Measuring tape
- Pencil
- Straightedge or T-square
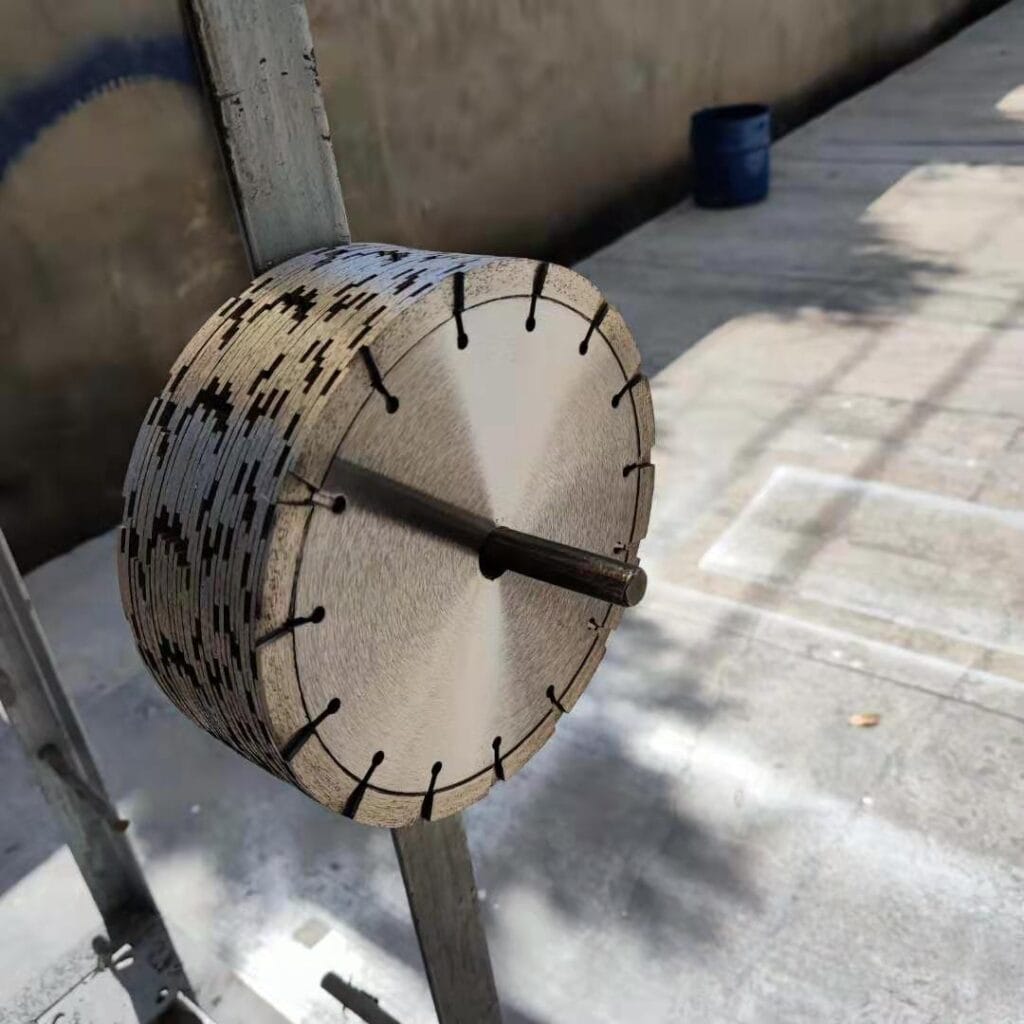
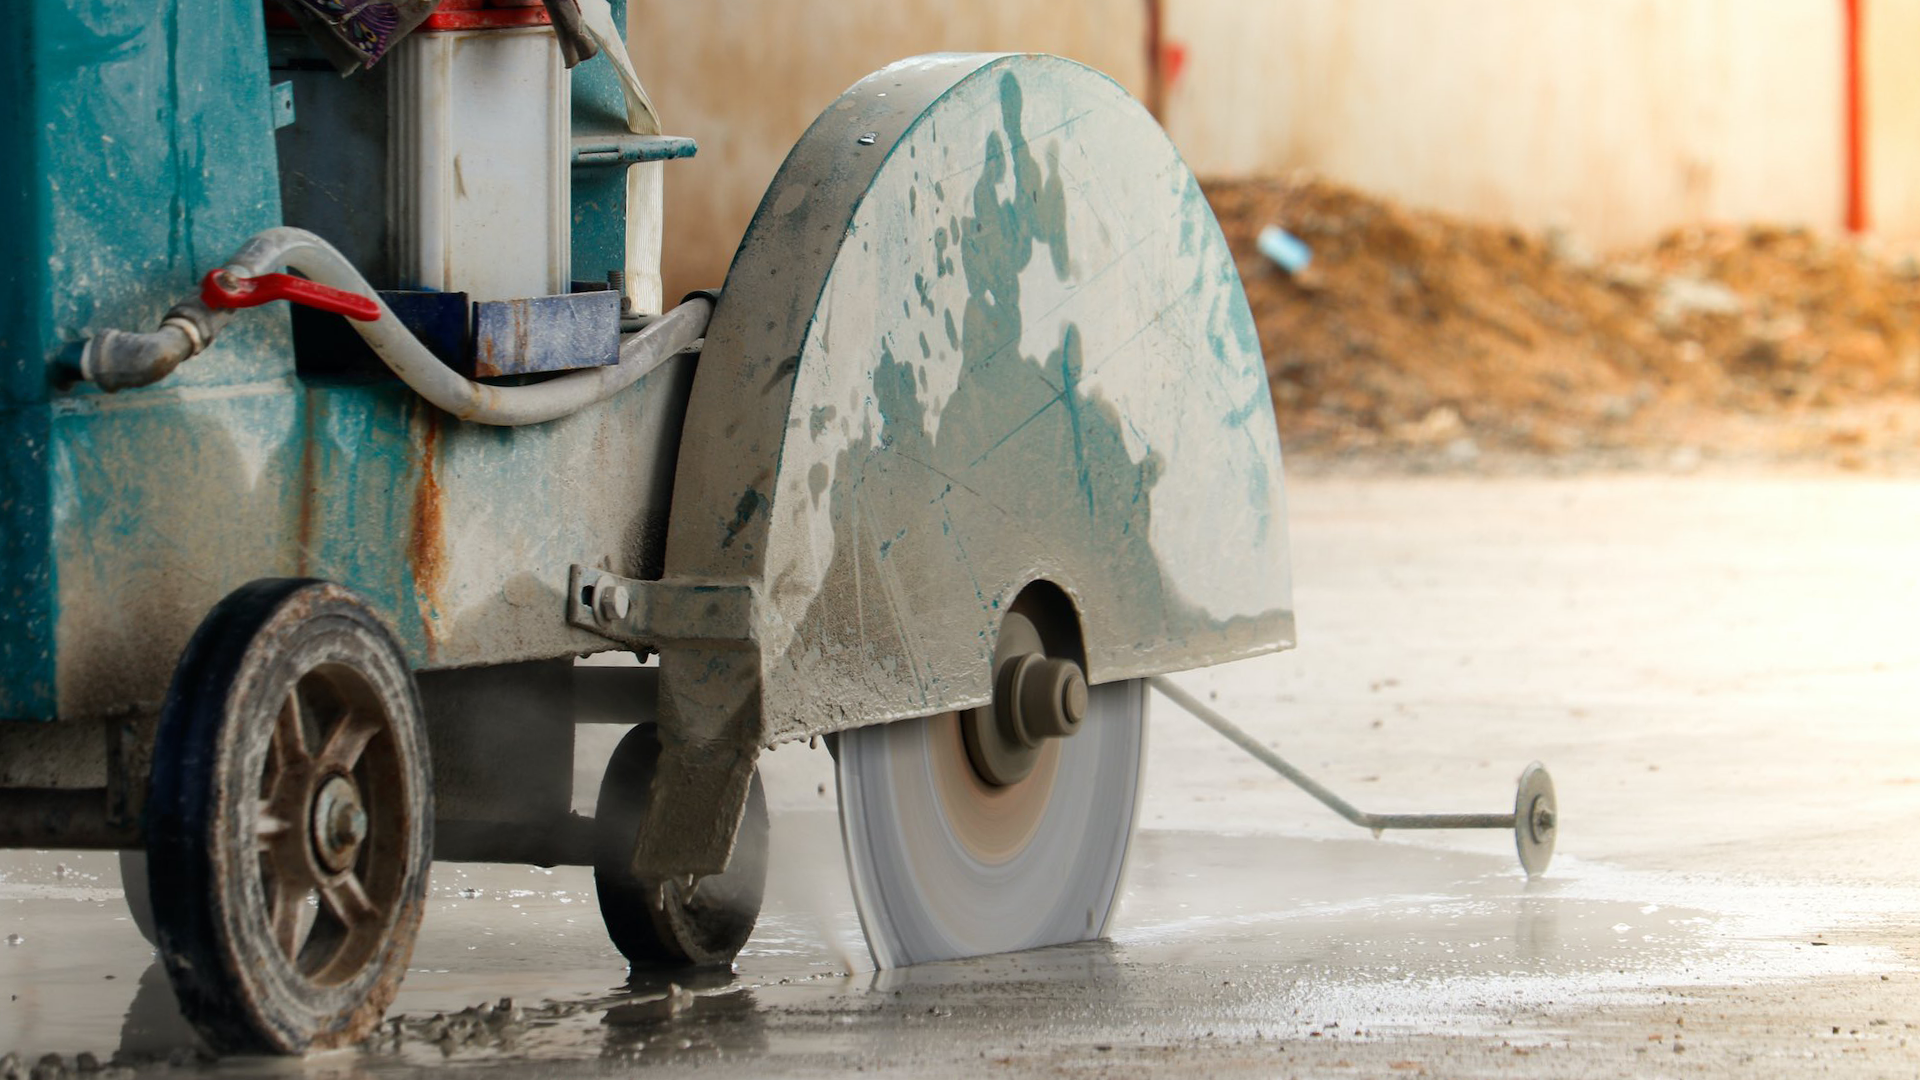
- Circular saw with diamond blade
- Safety gear: goggles, dust mask, gloves
- Work surface: sawhorses or stable platform
- Clamp or vise (for securing the board)
1. Prepare Your Work Area
Start by setting up a well-lit, well-ventilated workspace. Place your cement board on a stable work surface, such as sawhorses, to ensure it stays in place while you cut. Having enough space around you will help prevent accidents and allow you to move freely.
2. Measure and Mark the Cutting Lines
Use your measuring tape to mark where the cuts need to be made. Draw straight lines with a pencil and a straightedge or T-square. Double-check the measurements before starting the cut to ensure accuracy.
3. Safety Precautions
Before cutting, make sure to wear proper protective gear, including safety goggles, a dust mask, and gloves. Cement board generates a lot of dust and debris, so protecting your eyes, lungs, and hands is essential for safety.
4. Set Up the Circular Saw
Install a diamond blade onto your circular saw. Diamond blades are ideal for cutting hard materials like cement board. Always follow the manufacturer’s instructions when installing the blade to ensure it is securely attached.
5. Secure the Cement Board
Place the cement board on your work surface and secure it with clamps or a vise. This prevents the board from shifting during the cutting process, helping to maintain the quality of the cut.
6. Adjust the Saw’s Depth
Adjust the cutting depth of the saw blade. The depth should be slightly deeper than the thickness of the cement board. This ensures a clean, through cut without damaging the board.
7. Start Cutting
Position the saw at the edge of the cement board and align it with the marked line. Turn on the saw and wait for it to reach full speed. Then, move the saw slowly and steadily along the marked line, applying gentle pressure. Avoid forcing the saw, as this could cause the blade to wear down faster or create an uneven cut.
8. Cutting Corners or Curves
For corners or curves, it’s helpful to make relief cuts. These are small cuts made from the edge of the board toward the marked line. Relief cuts prevent the cement board from cracking or breaking during cutting.
9. Finish the Cut
Once you reach the end of your cut, release the trigger and allow the saw to stop completely before setting it down. Don’t rush—letting the saw slow down on its own will prolong the life of the blade and improve the quality of your work.
10. Smooth the Edges
After the cut, you may find that the edges are rough. Use a medium-grit sandpaper or sanding block to smooth them out. Be careful not to apply too much pressure, as this can damage the cement board.
Additional Tips for Safety and Cleanup
- Clean the Work Area: Cement board dust can be harmful to your health, so use a vacuum or damp cloth to clean up the area after cutting.
- Dispose of Scraps Safely: Cement board edges can be sharp, so dispose of scraps carefully.
- Store Tools Properly: Store your tools safely to avoid accidents.
Conclusion
Cutting cement board with a circular saw is a straightforward process if you follow the proper steps and use the right tools. With a diamond blade, you can make clean, precise cuts. Just remember to prioritize safety, wear protective gear, and double-check your measurements. By practicing these techniques, you’ll achieve professional results for your home improvement or construction projects.

